There are few things that can derail a camping trip faster than a clogged RV toilet. One minute you’re enjoying the great outdoors, and the next you’re dealing with a black tank backup. Nobody wants that!
The good news? Most RV toilet clogs are preventable, and fixable, if you understand how your RV’s plumbing system works.
Why RV Toilets Clog (It’s Not Like Your House)
The biggest mistake RV owners make is treating their RV toilet like a residential toilet. Yes, your RV is your home on wheels, but it’s not equipped to handle the same products as a residential home.

Your RV black tank system is not a straight-pipe sewer system like your home. Instead:
- Waste drops into an onboard black holding tank
- Pipes are smaller in diameter
- Drainage depends heavily on gravity and water volume
- Waste must reach a certain weight and consistency to dump properly
Because of this, RV systems can’t handle the same materials or volume that a house can.
The #1 Cause of RV Toilet Clogs: The “Pyramid Plug”
One of the most common and dreaded issues is the black tank pyramid plug.

This happens when:
- You leave the black tank valve open at a full-hookup campsite.
- Liquids drain out immediately.
- Solid waste stays behind.
- Waste builds upward into a hardened “pyramid” under the toilet.
Eventually, nothing drains, and you’re stuck with a clogged RV toilet.
Important: Never leave your black tank valve open continuously, even if you’re connected to sewer.
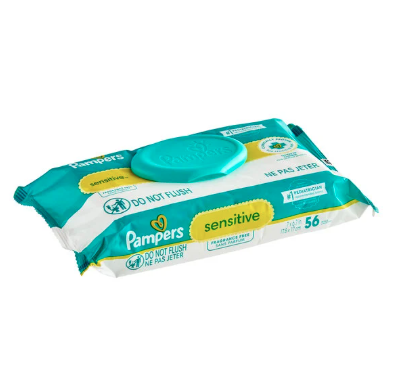
What Should NEVER Go Down an RV Toilet
To avoid clogs, do not flush:
- Baby wipes (even “flushable” ones)
- Feminine hygiene products
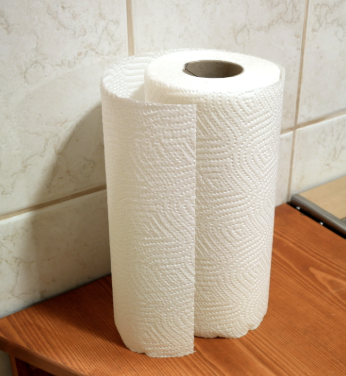
- Paper towels
- Regular household toilet paper
- Excess food waste

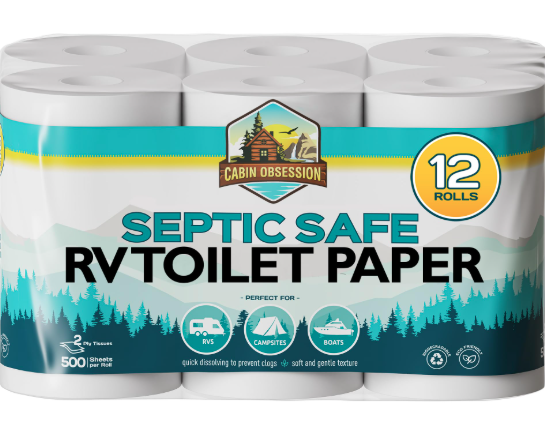
Only use:
- RV-safe toilet paper
- Human waste
- Plenty of water
When it comes to RV black tank health, water is your best friend.
How to Unclog an RV Toilet (Step-by-Step)
If it’s already too late and your RV toilet won’t flush, here’s what to do.
Step 1: Put on Gloves (Seriously, don’t skip this step)
This is not a bare-handed job. Wear disposable gloves and wash your hands thoroughly afterward.
Step 2: Check Your Black Tank Valve
Before assuming a major clog:
- Make sure the black tank valve is actually open.
- Confirm the tank isn’t completely full.
If you open the valve and nothing comes out, you likely have a blockage.
Step 3: Use a Tank Wand (Toilet Blaster Wand)
A tank wand is one of the most effective ways to break up a clog from inside the RV.
How it works:
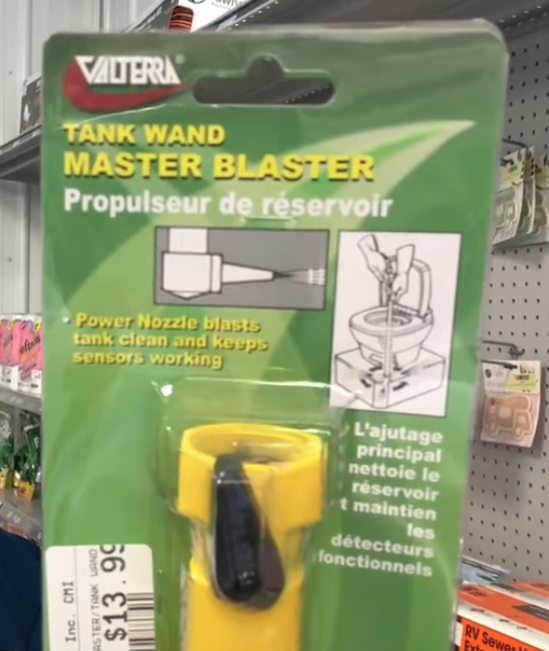
- Connect the wand to a garden hose.
- Insert it through the toilet into the black tank.
- Spray water forcefully inside the tank to break up waste buildup.
⚠️ Warning:
You are adding water to the tank. If it’s not draining at all, be careful not to overflow the toilet and flood your RV.
If you see movement or partial draining, stop spraying and allow it to empty.
Step 4: Add Black Tank Treatment Chemicals
There’s debate in the RV community about tank chemicals, but when you have a clog, they can help.

Look for:
- Enzyme-based tank treatments
- Heavy-duty clog dissolvers made specifically for RVs
Add the chemical, allow it to sit per instructions, then attempt flushing again.
Chemicals can help soften hardened waste that’s causing a pyramid plug.
Step 5: Use an External Hydro Flush Tool
If internal spraying doesn’t work, you can attack the clog from outside.
A hydro flush attachment connects at your sewer outlet and sprays water back into the tank from the drain side.
Benefits:
- Adds pressure from a different angle
- Allows excess water to flow out instead of backing up into the RV
- Helps break apart stubborn blockages
Again, monitor carefully and stop if you see proper flow begin.
Sometimes it takes a combination of:
- Tank wand
- Chemicals
- Hydro flush tool
But most clogs can be cleared without professional service.
How to Prevent RV Toilet Clogs
Prevention is much easier than unclogging.
1. Use LOTS of Water
This is the most important rule.
Every flush should include enough water to:
- Fully cover waste in the tank
- Prevent solids from sticking
- Maintain a liquid base
After dumping your black tank, add water back in immediately.
A good rule:
- Fill the tank to about 10% capacity with fresh water after dumping.
This prevents dry waste from hardening at the bottom.
2. Never Leave the Black Tank Valve Open
Even at full-hookup sites.
Keep the valve closed until:
- The tank is at least 2/3 full
- You’re ready to dump
This ensures enough weight and liquid volume to fully evacuate solids.
3. Use RV-Safe Toilet Paper
RV toilet paper breaks down faster in smaller plumbing systems.
If you’re unsure, test it:
- Put a few sheets in a jar of water.
- Shake.
- If it dissolves quickly, it’s safe.
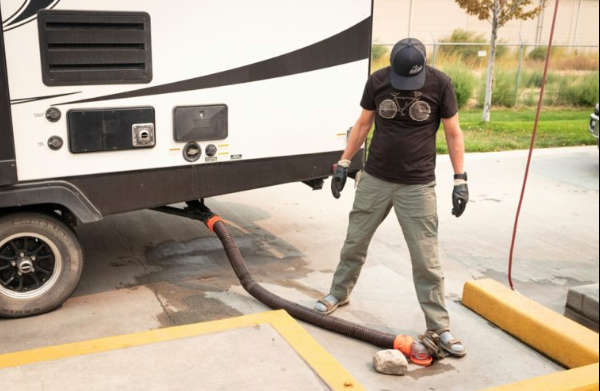
4. Dump Properly
When dumping:
- Empty the black tank first.
- Follow with gray tank water to rinse the hose.
- Use built-in tank flush systems if available.
- Add water back into the black tank afterward.
5. Avoid Overusing Tank Chemicals
While helpful for odors and emergencies, chemicals alone won’t prevent clogs.
Water is still the key factor.
When to Call for Professional Help
You may need service if:
- The clog won’t break after multiple attempts.
- Waste is backing up into the shower or sinks.
- You suspect a damaged valve.
- There’s a sensor malfunction showing incorrect tank levels.
Professional RV service centers have specialized pressure equipment and tools that can clear severe blockages safely.
Final Thoughts: Avoid a “Crappy” Camping Situation
A clogged RV toilet isn’t fun, but it’s usually preventable and fixable.
Remember:
- Use plenty of water
- Keep the black tank valve closed
- Add water after dumping
- Never flush wipes
- Address clogs quickly
Understanding how your RV black tank system works can save your trip, and your sanity.
Stay proactive, stay prepared, and you’ll spend more time camping and less time dealing with unpleasant surprises!

Written By: Brooke Erickson
Some say I am a writer, I like to say I am a storyteller