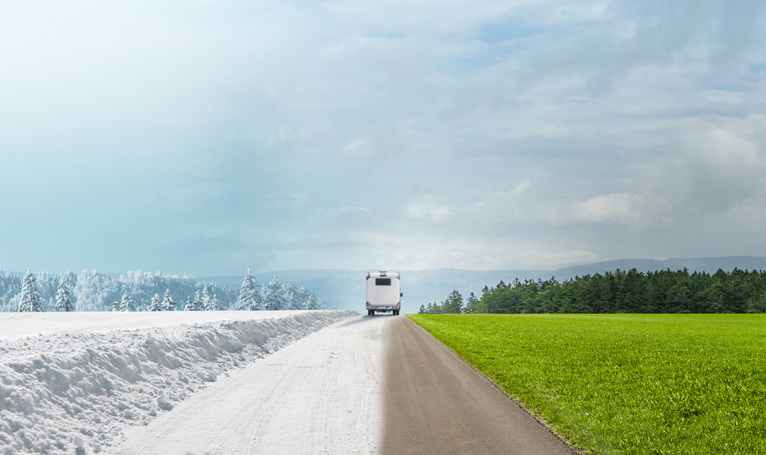
After months in storage, getting your RV ready for spring isn’t just about opening the door and hitting the road.
It’s about making sure everything still works, nothing was damaged over the winter, and your first trip doesn’t turn into a long list of preventable problems.
We will walk you through everything, from inspecting for winter damage to flushing your water system and getting road-ready, so you can start the season with confidence.
Table of Contents
Start Inside: Inspect & Secure
Check Slides Before Retracting
Inspect Roof and Slide Topper
Turn Off All Systems
Check Your Water System
Sanitize Your Water System
Reconnect and Check Exterior System
Tires, Hitch, and Safety Checks
Propane, Battery, and Electrical Systems
Final Walkaround
FAQ
Start Inside: Open, Inspect, and Secure
Before you hook up or hit the road, begin inside your RV while everything is open and accessible.
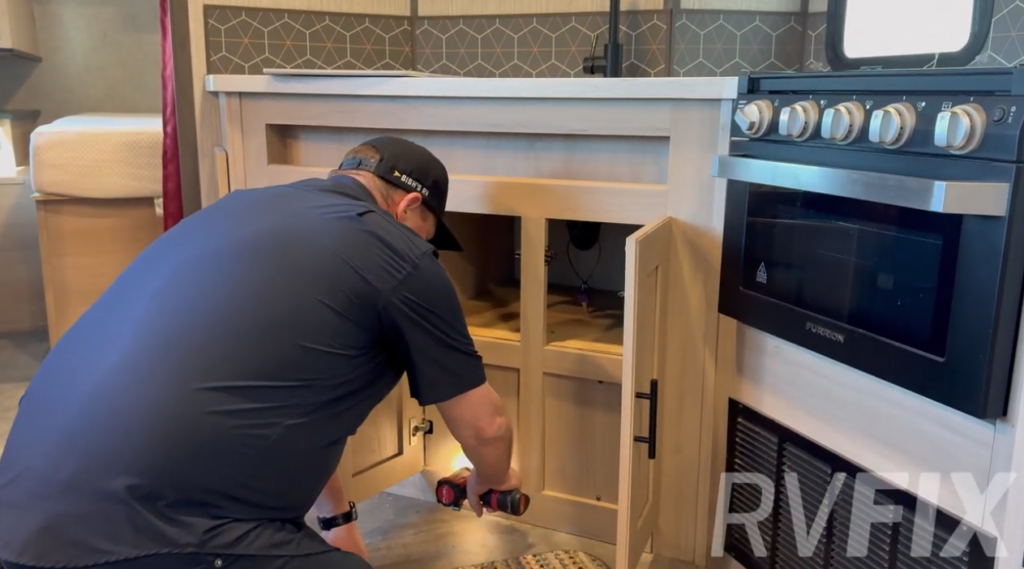
- Close and secure all cabinet doors
- Check for loose items (dishes, décor, toiletries)
- Store or stabilize freestanding tables and chairs
- Add padding (like a towel) under stove covers to prevent rattling
Loose items may seem minor, but they can cause serious damage in transit, especially in rear kitchens or back storage areas where movement is more intense.
Check for Obstructions Before Closing Slides
Slide-outs are one of the easiest places to accidentally cause damage.
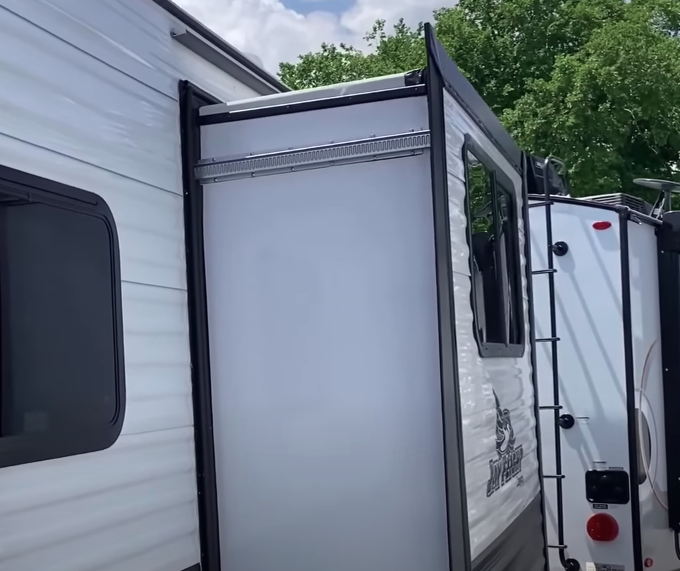
Before retracting slides:
- Remove any items blocking slide paths
- Lower dinettes into the “bed” position if needed
- Secure ottomans, extensions, or loose furniture
- Double-check cabinet doors are fully closed
Even small obstructions can lead to misalignment, seal damage, or costly repairs.
Inspect the Roof and Slide Toppers
Before closing everything up, take a quick look at:
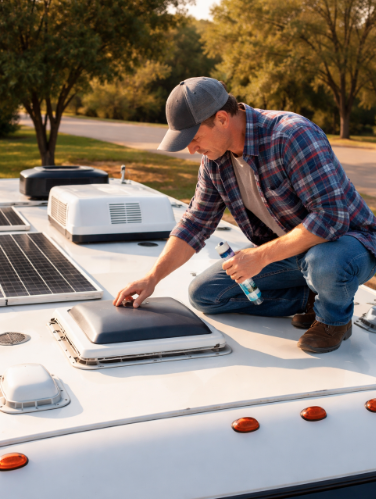
- Slide roofs
- Awnings
- The main roof (if accessible)
Clear off debris like leaves, sticks, or dirt. Anything left behind can:
- Damage seals
- Get pinched during slide retraction
- Cause long-term wear or leaks
This step takes a minute, but can save you hundreds (or more).
Turn Off All Systems
As part of your RV dewinterization checklist, make sure all systems are properly shut down before travel:
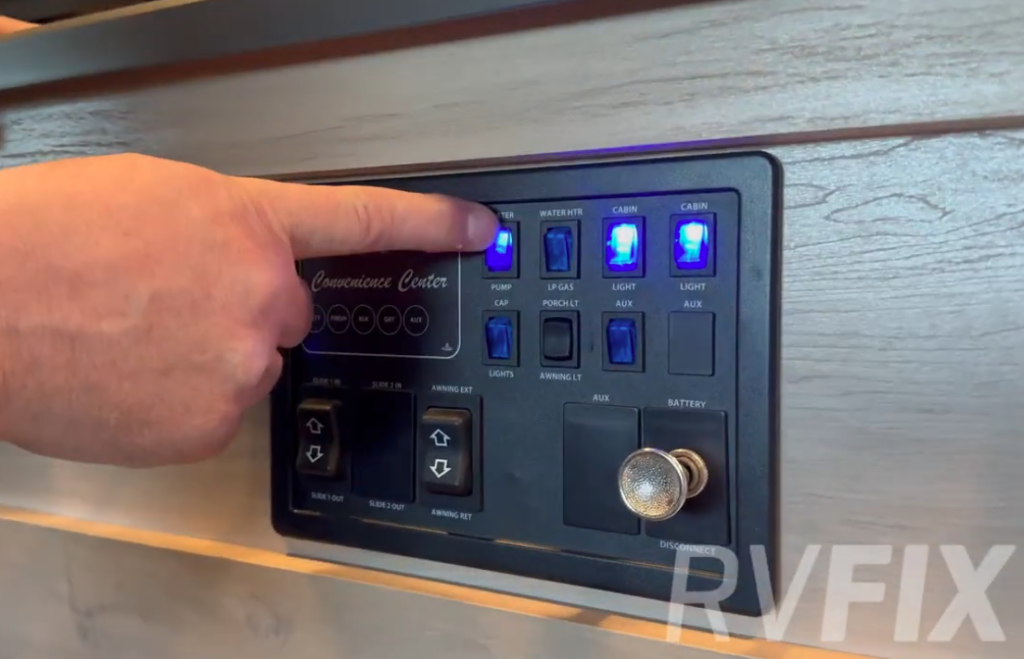
- Furnace
- Air conditioner
- Water heater
- Water pump
- Lights, fans, and electronics
Also double-check appliances with pilot lights (like ovens). You never want anything running while in transit.
Check Your Water System (Post-Winterization)
Dewinterization isn’t complete without addressing your water system. The most important part, clearing antifreeze from your system.
- Flush antifreeze from lines
- Sanitize your fresh water system
- Check for leaks at fittings and connections
- Fill your fresh water tank (if needed)
Tip: Avoid traveling with full tanks unless necessary, extra weight adds stress to your RV and reduces efficiency.
Empty and Prep Holding Tanks
Before your first trip:
- Dump black and gray tanks
- Rinse thoroughly
- Add tank treatment if needed
And one important rule:
Always store sewer hoses and fresh water hoses separately. Mixing them is a health risk, and unfortunately more common than it should be.
Sanitize Your Water System
Flushing removes antifreeze, but sanitizing ensures your water system is safe to use.
- Mix ¼ cup bleach per ~15 gallons of water capacity
- Add solution to your fresh water tank and fill with water
- Run the mixture through all faucets until you smell bleach
- Let it sit for 3–12 hours
- Drain and flush thoroughly until the smell is gone
This step is key to eliminating bacteria and ensuring clean, safe water.
Test the Entire Water System
Now that everything is flushed and sanitized:
- Turn on the water pump
- Run all faucets and fixtures
- Check for leaks, pressure issues, or unusual sounds
This is your chance to catch problems before your first trip.
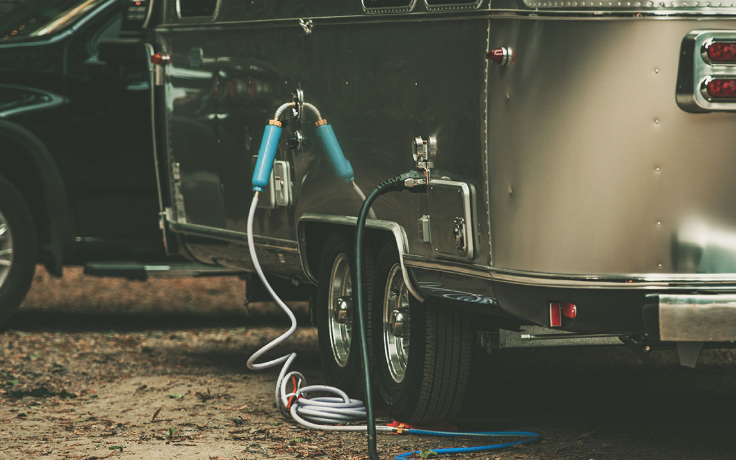
Reconnect and Check Exterior Systems
Once everything inside is ready:
- Reconnect power, water, and sewer (if needed)
- Replace all caps and covers
- Check seals and connections
Then test your RV’s electrical system:
- Brake lights
- Turn signals
- Running lights
Don’t forget to check your tow vehicle lights too.
Tires, Hitch, and Safety Checks
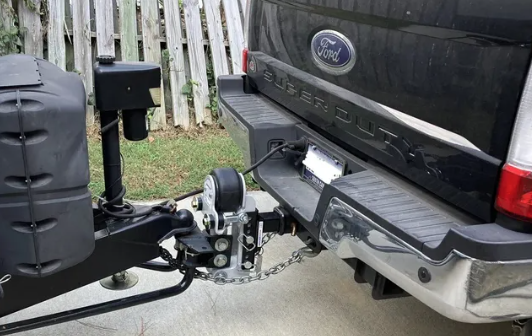
Before moving your RV, run through these final safety checks:
- Check tire pressure (cold tires only)
- Inspect tire condition and tread
- Verify wheel lug torque (per manufacturer specs)
- Confirm hitch is locked and secure
Then remove:
- Wheel chocks
- Stabilizer jacks
And make sure your vehicle parking brake is disengaged.
Check Propane, Battery, and Electrical Systems
Before using your RV systems, make sure everything is operating safely.
Propane System
- Inspect for leaks or loose connections
- Light stove burners to test flow
- Check tank certification dates
Battery
- Inspect for corrosion or damage
- Test charge levels
- Replace if weak or not holding charge
Electrical Components
- Test lights, fans, and outlets
- Check RV and tow vehicle signals (brake lights, turn signals, running lights)
Final Walkaround Before You Go
Before pulling out, take one last lap around your RV:
- Slides in and locked
- Awnings secured
- Compartments closed
- Nothing left underneath or behind
This quick check helps catch the small things that can turn into big problems.
FAQ: RV Dewinterization
When should I dewinterize my RV?
You should dewinterize your RV when temperatures are consistently above freezing, typically in early spring.
Do I need to sanitize my RV water system every year?
Yes. Sanitizing removes bacteria and ensures your water is safe for drinking and use.
Can I travel with water in my RV tank?
You can, but it’s best to travel with minimal water to reduce weight and improve fuel efficiency.
What happens if I don’t dewinterize properly?
Improper dewinterization can lead to leaks, bacteria buildup, damaged seals, and costly repairs.
Start the Season with Confidence
Dewinterizing your RV doesn’t have to be complicated, but it does need to be intentional.
A simple checklist like this helps you:
- Avoid self-inflicted damage
- Catch small issues early
- Travel safely and confidently
Because the goal isn’t just to get your RV ready, it’s to make sure your first trip of the season starts exactly how it should:
Smooth, stress-free, and ready for adventure.
If you don’t want to handle it alone, RVFix gives you direct access to a master-level technician who can walk you through any issue and help you get you road-ready faster.

Written By: Brooke Erickson
Some say I am a writer, I like to say I am a storyteller