
It’s that time of year again, you’ve finished your summer adventures with your RV, maybe hauled it back home and now you’re prepping it for a long winter hibernation. Because let’s face it, your RV needs more than just being parked, it needs a proper off-season routine so when the snow melts and the temperatures rise, it’s spring-ready!
Here are some handy tips to help you winter-store your camper the right way, and avoid costly issues when you hit the road again!
Table of Contents
Plumbing & Water System
Clean Cabinets & Interior Storage
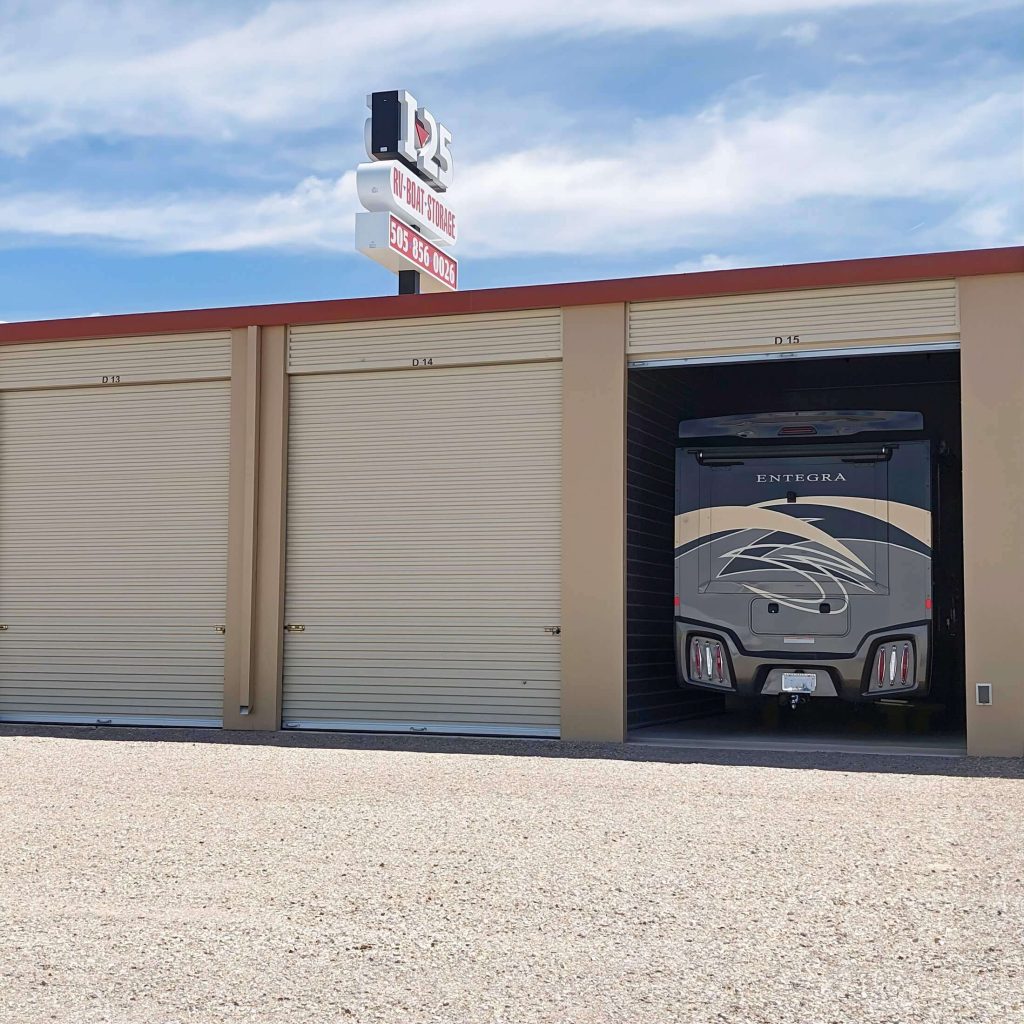
Indoor vs Outdoor Storage
Leveling, Slides, & Jacks
Tire Care
Critter & Pest Prevention
Battery, Solar, Fuel
Covers & Exterior Protection
FAQ
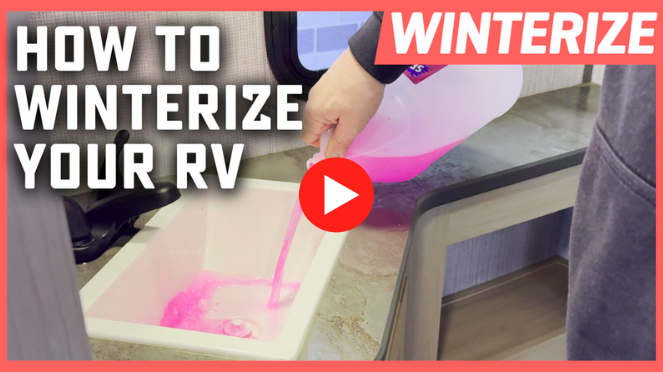
How to Winterize Your RV Step by Step
Proper rv winterization protects your plumbing system, water lines, valves, and appliances from freezing damage. This guide walks you through the exact steps RV Fix master technicians use so you can winterize your camper confidently.
Step-by-Step RV Winterization Instructions
1. Drain the Freshwater Tank
Open the freshwater tank drain (usually under the RV near the freshwater fill).
Fully draining the tank is the foundation of safe rv winterizing.
2. Turn Off the Water Pump & Release Pressure
Turn off the interior water pump, then briefly open a faucet.
Releasing pressure prevents a sudden spray when removing the water heater plug.
3. Turn Off the Water Heater Power Switch
At the exterior water‐heater panel, switch off the 120V electric element.
This protects the unit from accidental burnout after winterization.
4. Remove the Water Heater Drain Plug (or Anode Rod)
Use the correct socket (typically 1 1/16″) to remove the plug/rod and open the relief valve to speed draining.
5. Open All Low-Point Drains
Locate the hot and cold low-point drains beneath the trailer.
Let all water drain out, then close them again so you’re ready to pump antifreeze.
6. Winterize Exterior Water Sources
Don’t forget vulnerable exterior lines that commonly freeze:
- Outside shower
- Exterior kitchen faucets
- Spray port
Reviewing these helps avoid costly springtime repairs.
For additional help with problem areas, you can always reach out to RV Fix:
https://www.bishs.com/rvfix
7. Locate Your Water Pump
Turn the pump on briefly to listen through cabinets or access panels.
Once located, remove the panels to expose the pump and water heater bypass valves.
8. Bypass the Water Heater
Turn the top and bottom valves to route water around the heater.
Bypassing prevents pumping 6–10 gallons of antifreeze into the tank.
9. Attach the Antifreeze Pickup Tube
Connect the winterization tube to a jug of RV/marine potable antifreeze.
Never pour antifreeze into the freshwater tank.
You can purchase the correct antifreeze here:
RV Antifreeze & Winterization Supplies: https://www.bishs.com/parts
10. Begin Pumping Antifreeze
Turn on the water pump.
It should draw antifreeze from the jug, pressurize, and stop like normal.
11. Run Antifreeze Through Every Interior Faucet
Open each faucet, cold first, then hot, until you see bright pink.
Be sure to winterize:
- Kitchen faucet
- Bathroom sink
- Shower
Let extra antifreeze run into each P-trap for freeze protection.
12. Winterize the Toilet
Press the toilet pedal until pink fluid flows through.
This coats internal seals and protects the valve.
13. Winterize Exterior Ports
Run antifreeze through the spray port or outside shower until pink appears.
These are the most commonly forgotten steps in rv winterization.
14. Check Low-Point Drains for Antifreeze
Re-open low-point drains just long enough to confirm pink is present.
This proves the lines are fully protected.
15. Final Wrap-Up
- Turn off the water pump
- Leave the water heater in bypass until spring dewinterizing
- Reinstall access panels
- Pour remaining antifreeze into each drain for added P-trap protection
For more long-term storage help, visit:
How to Store Your RV for Winter: https://www.bishs.com/blog/how-to-store-your-rv-for-winter
Don’t Want to Winterize Your RV Yourself?
1. Get Live Help From a Master Tech With RV Fix
If you want real-time help as you winterize, connect with an expert via video call:
? https://www.bishs.com/rvfix
2. Schedule Winterization at a Bish’s RV Service Center
Let a certified technician handle your full rv winterization for you:
https://www.bishs.com/service
Clean Cabinets & Interior Storage
Interior maintenance is often overlooked. But trust me, when you open things up in the spring and find mold, mildew, and mice poop, you’ll wish you had taken the time.
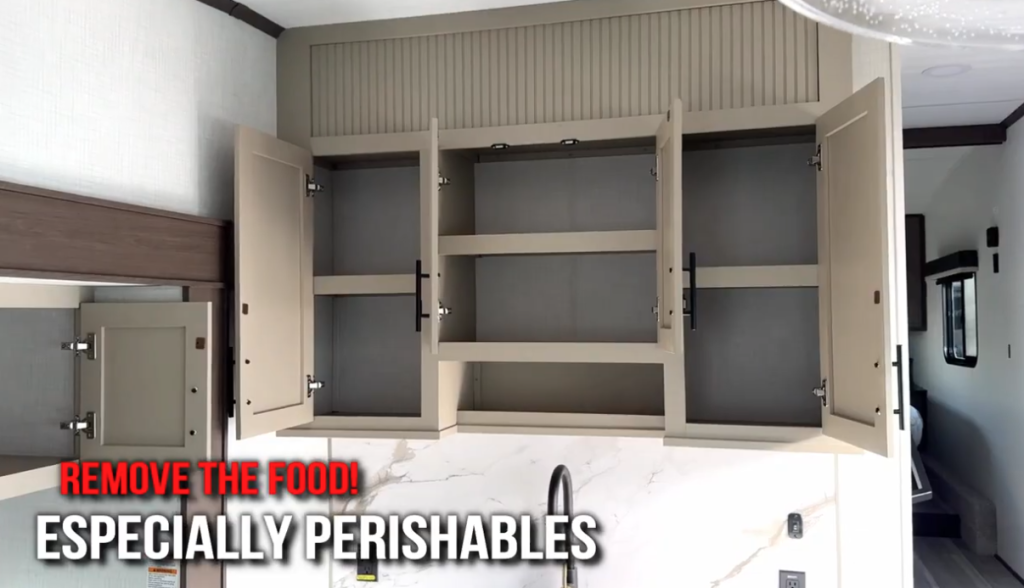
- Remove all perishable items from cupboards, the fridge, pantry. For non-perishables: yes, canned food is often the exception, but even then, store them so they “breathe.” Leaving cupboard/shutter doors slightly ajar helps avoid moisture being trapped.
- Clean and sanitize the fridge. Even if you lock it up, smells and bacteria will build during months of inactivity. You can even leave the fridge door propped and vents slightly open to let air circulate.
- Soft goods such as blankets, pillows, towels, even toilet paper, they absorb condensation, take on odors, and can develop mildew. We recommend removing these and storing them in a dry, ventilated space.
- Make sure to do a quick vacuum or sweep of the floors and wipe down surfaces, it’s super important to minimize crumbs or food residue to help keep pests away.
RV Winter Storage Tips to Protect Your Camper
How you store your RV during the off-season plays a huge role in how well it survives winter. Whether you’re parking indoors or outside in your driveway, think in terms of element exposure vs. protection.
Indoor Storage: Maximum Protection
Indoor garages or climate-controlled storage units offer the best environment for winter RV storage. Temperature swings, moisture, and weather exposure are minimized, helping protect seals, paint, and exterior components.
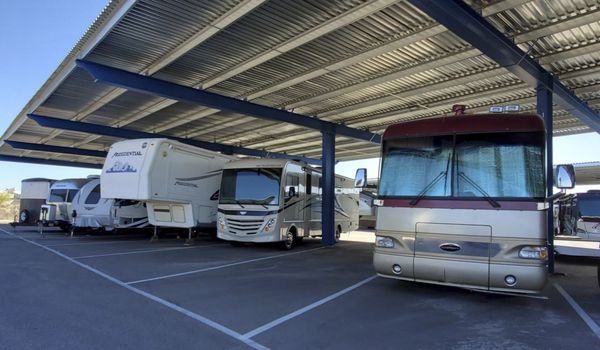
Covered Outdoor Storage: A Solid Middle Ground
Carports or covered storage lots provide shade and keep snow and rain off your roof, offering more protection than being fully exposed while still being more affordable than climate-controlled units.
Uncovered Outdoor Storage: Extra Steps Required
If you’re storing your RV uncovered—whether in your driveway or a storage lot—a high-quality RV cover is crucial. Cheap tarps trap moisture, encourage mold and mildew, and can even hide cracks or water intrusion until damage is severe.
Choosing the Right RV Cover
If you’re storing outdoors, pick a breathable, multi-layer RV cover made specifically for your RV type. Avoid plastic tarps that trap moisture and rub against paint. Before covering:
- Wash and wax the RV
- Inspect seals and caulking
- Repair cracks or gaps to prevent winter water intrusion
Pro Tip: Use pool noodles or padding under downspouts, sharp corners, or gutter extensions so snow and ice can’t push through and damage your cover.
Leveling, Slides, Jacks — Little Details Matter
- Leveling: Typically you store your RV level. But consider the freeze-thaw cycle and runoff. I personally recommend a slight angle if storing outdoors, just not so much that the nose is pointed down. Too much weight on one axle is a recipe for sagging or damage.
- Slides: My strong opinion? Keep them closed. Why? Less surface exposed to snow, ice, falling branches; less chance of ice damming. The less your RV’s “moving parts” are exposed, the fewer opportunities for damage.
- Jacks: I recommend up. Keeps critters from crawling in underneath. Fewer hidden entry points.
Tire Care & Inflation
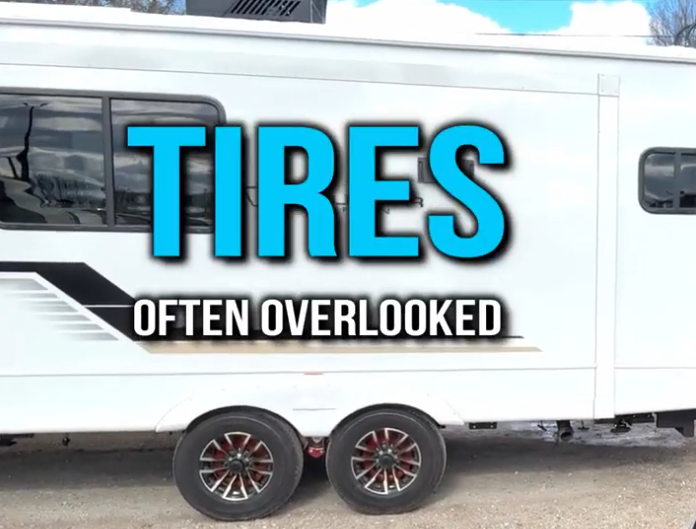
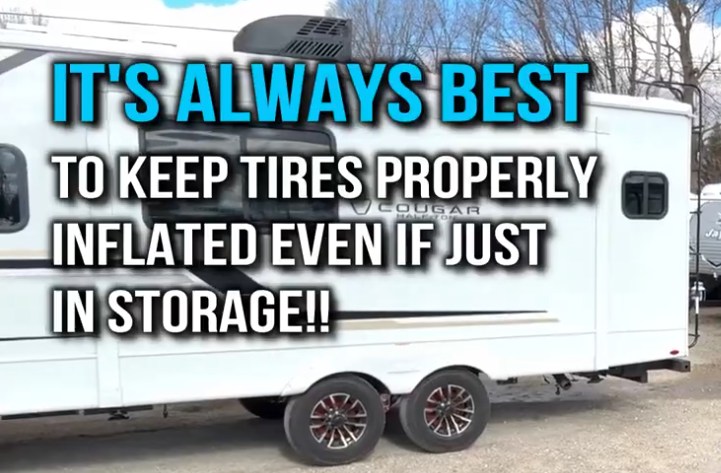
One of the most overlooked yet high-impact topics.
- Check tire inflation before storage. Cold temperatures make tires lose pressure, some estimates say around 1.5% loss per every 10°F drop.
- Avoid parking on grass, dirt or soft ground. Sinking and freeze-thaw expansion can distort tires or suspension. A simple piece of plywood under each tire works wonders.
- Use tire covers if outdoors, the winter sun and UV bounce off snow and can still damage rubber.
- Chock the wheels so the RV doesn’t roll or shift during storms.
Critter & Pest Prevention

We all love wildlife… just not inside our RV. Rodents, insects, spiders, they’ll make themselves at home if you give them the chance.
- Remove food, crumbs, exposed packaging. Clean and vacuum as noted above. RV.com
- Seal holes, vents, undercarriage access points. Use bug screens or specialized vent covers.
- Some folks swear by rodent repellents, from moth balls to Irish Spring soap bars, and dryer sheets. The evidence is mixed. It’s safer to assume that if a critter wants in, there’s very little that stops them. So check the RV at least once or twice during storage if you can.
Battery, Solar, Fuel & Security
- Battery: Pull it and store it indoors on a maintainer/trickle charger. Cold can shorten life or damage cells, especially in flooded lead-acid types.
- Solar: If you have solar, consider covering the panels or disconnecting the system. Snow and little sunlight mean less power, but some controllers might still draw, or internal heaters could run and deplete the system.
- Fuel: If your RV is motorized or has a generator, add fuel stabilizer, fill tanks to minimize condensation inside, and if possible run the engine/generator for a few minutes before storage. RV.com
- Security: Location, locks, alarms, camera, whatever gives you peace of mind. Winter storms, snow loads, falling limbs, all are possible threats.
FAQ: Common RV Winter Storage Questions
Q1: How long can an RV sit in storage?
Most RVs can safely sit for 4–6 months if properly winterized. Longer is fine with regular check-ins, inspect seals, tire pressure, and battery every month or two.
Q2: Should I cover my RV in winter?
Yes, especially for outdoor storage. Use a breathable, water-resistant RV cover, not a tarp. Tarps trap condensation and cause mold or corrosion.
Q3: Can I leave my RV plugged in all winter?
Not recommended. Constant charging risks overcharging or boiling your battery. It’s safer to remove the battery and use a trickle charger indoors.
Q4: Do I need to empty the propane tanks?
No, but close the valves, check for leaks, and store cylinders upright in a ventilated area. For built-in tanks, just ensure lines are tight and capped.
Q5: How do I keep mice out of my RV?
Seal all entry points, clean food thoroughly, and use deterrents like peppermint oil or electronic repellents. For long-term storage, place traps around tires and stabilizers.
Q6: Should I inflate or deflate RV tires for winter?
Inflate to the manufacturer’s recommended PSI. Cold weather lowers pressure naturally, so recheck periodically to avoid flat-spotting.
Q7: What’s the best temperature for RV battery storage?
Keep it between 40°F and 70°F. Too cold can freeze a lead-acid battery; too warm shortens lifespan.
Final Thoughts
Winter storage might not be the glamorous part of RV life, but it’s crucial and if you want your RV ready for the next adventure, don’t skip these steps.
Taking the time now means you’ll be back on the road come spring without a string of preventable problems holding you back!

Written By: Brooke Erickson
Some say I am a writer, I like to say I am a storyteller